Deploying a Flask Site Using NGINX Gunicorn, Supervisor and Virtualenv on Ubuntu
Ya, the title’s a bit of a mouthful but “Explicit is better than implicit.” Basically I’ve now had to perform this task ∞ times but not on a regular enough basis where I memorize all the steps. For that reason and that reason alone I’m publishing these notes. Maybe these notes will come in handy for someone else as well.
Init Server
Now we could completely go completely overboard with security measures here like shutting down ports, changing the SSH port to something non-standard etc etc but I’m not really a sysadmin expert so I won’t delve too deep into this. One thing we will do is create a separate “deploy” user separate from root for our server.
Create Deploy User
    $ useradd deploy
    $ mkdir /home/deploy
    $ chown deploy:deploy /home/deploy
    $ usermod -a -G sudo deploy
    $ passwd deploy
    $ chsh -s /bin/bash deploy
Here we created a user named deploy, gave them a home directory, added them to the sudo group so they can execute all commands and created a password for them.
Lock down SSH
$ sudo nano /etc/ssh/sshd_config
Here we’re going to edit our SSH config file and edit the following line as so:
PermitRootLogin no
And lastly, restart SSH:
$ sudo service ssh restart
Update Aptitude (Package Manager)
    $ sudo aptitude update
    $ sudo aptitude safe-upgrade
Software
Similar to how recipes always start you off with the list of ingredients I’ll do the same. There are two “types” of software needed to deploy our site; server software and python software. The reason I make the distinction is that we’ll use two different package managers to install them. Aptitude for the server software (since we’re deploying on Ubuntu Server) and Pip for the python packages.
Server Software
- ufw
- python-dev
- python-virtualenv
- python-pip
- git
- nginx
- supervisor
- libmysqlclient-dev (if connecting to a mysql db)
- libsqlite3-0 (if connecting to a sqlite db)
Python Software
- flask
Installation
Installing the server software is a piece of cake, just a one liner thanks to aptitude:
$ sudo aptitude install ufw python-dev python-virtualenv python-pip git nginx supervisor
As for the python packages we’ll need to create and virtual environment and install all of our packages once it is activated. We can do this via the following code:
    $ mkdir ~/.virtualenvs && cd ~/.virtualenvs
    $ virtualenv flaskdeploy
    $ source ~/.virtualenvs/flaskdeploy/bin/activate
Next step is to get our code from github by cloning the repository and installing the necessary packages via git with our virtual environment activated (which we just did).
    (flaskdeploy)$ mkdir ~/sites && cd ~/sites
    (flaskdeploy)$ git clone https://github.com/alexandersimoes/flaskdeploy.git
    (flaskdeploy)$ cd flaskdeploy
    (flaskdeploy)$ pip install -r requirements.txt
Nginx
For our next trick we’ll be configuring Nginx to work with our setup. We use Nginx as our routing manager, serving static files and reverse proxying to Gunicorn for our Flask views.
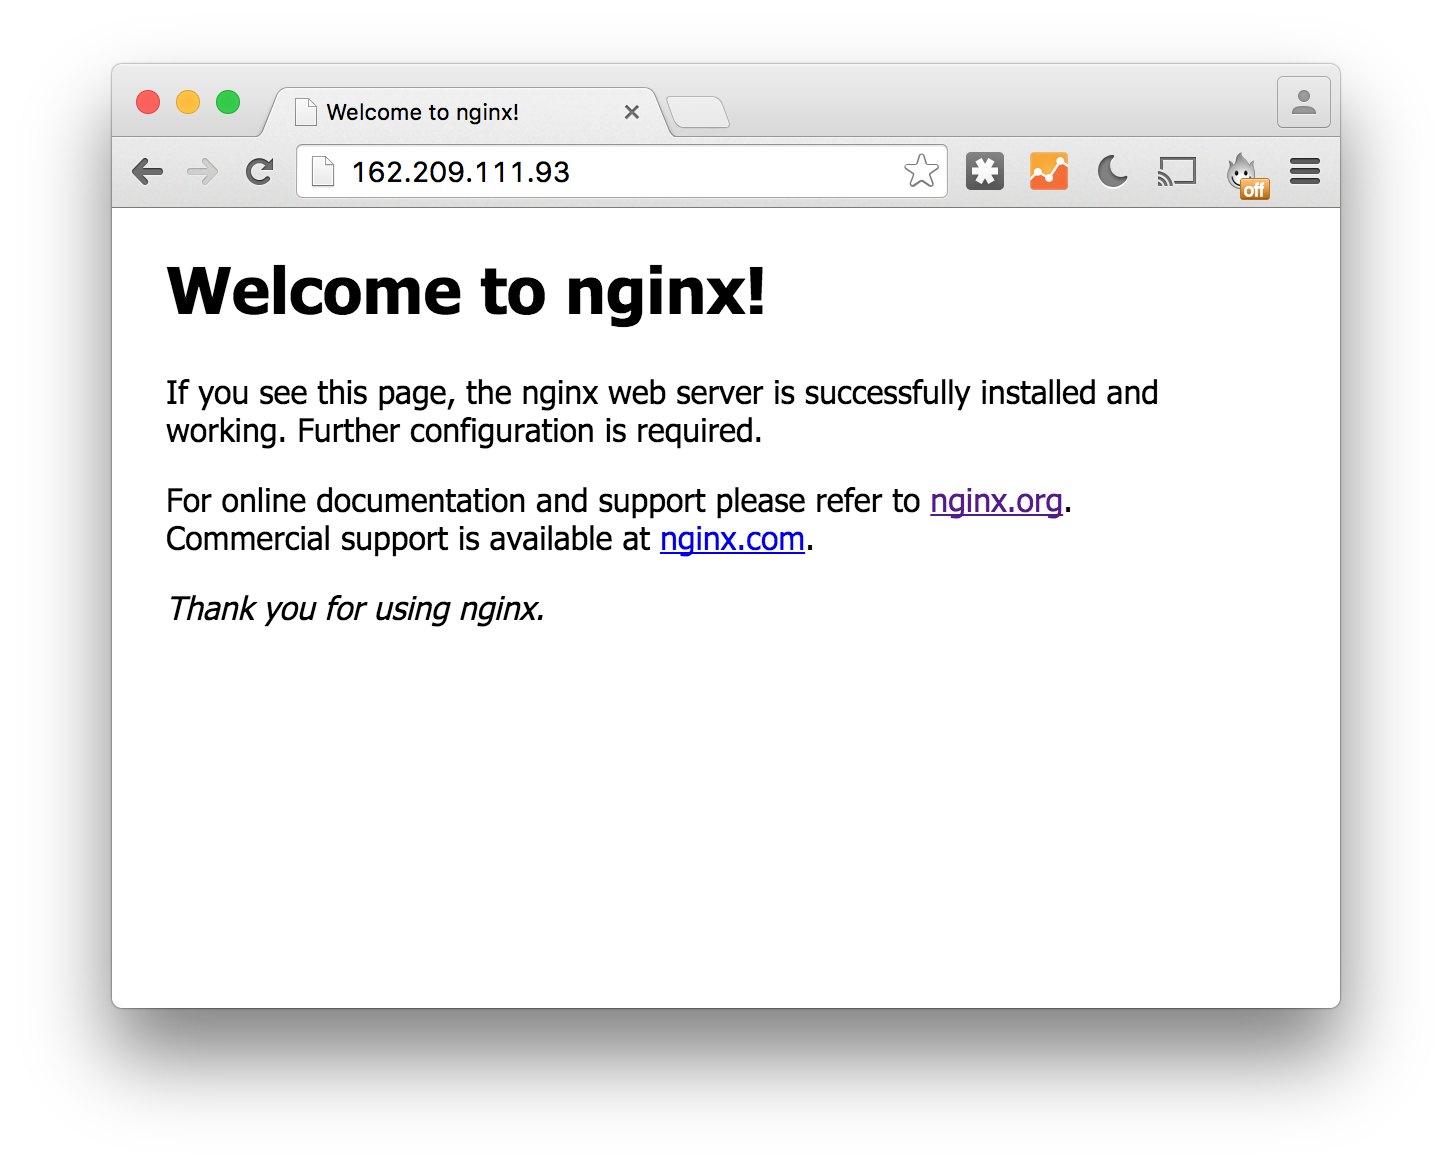
Out of the box nginx initializes with a sample website configuration to tell you it installed correctly. So we can actually already visit our site in the browser and we’ll see the “Welcome to nginx!” boilerplate. But now we’re going to remove this sample config and write our own.
    (flaskdeploy)$ sudo rm /etc/nginx/sites-enabled/default
    (flaskdeploy)$ sudo nano /etc/nginx/sites-available/flaskdeploy
server {
    listen 80;
    server_name 162.209.111.93;

    root /home/deploy/sites/flaskdeploy;

    access_log /home/deploy/sites/flaskdeploy/logs/nginx/access.log;
    error_log /home/deploy/sites/flaskdeploy/logs/nginx/error.log;

    location / {
        proxy_set_header X-Forward-For $proxy_add_x_forwarded_for;
        proxy_set_header Host $http_host;
        proxy_redirect off;
        if (!-f $request_filename) {
            proxy_pass http://127.0.0.1:8000;
            break;
        }
    }

    location /static {
        alias  /home/deploy/sites/flaskdeploy/static/;
        autoindex on;
    }
}
We have to create the directory for our nginx logs:
(flaskdeploy)$ mkdir -p ~/sites/flaskdeploy/logs/nginx
Now we can enable the site (by creating a symlink), test our configuration and restart to allow our changes to take place.
    (flaskdeploy)$ sudo ln -s /etc/nginx/sites-available/flaskdeploy /etc/nginx/sites-enabled/
    (flaskdeploy)$ sudo nginx -t
    (flaskdeploy)$ sudo service nginx restart
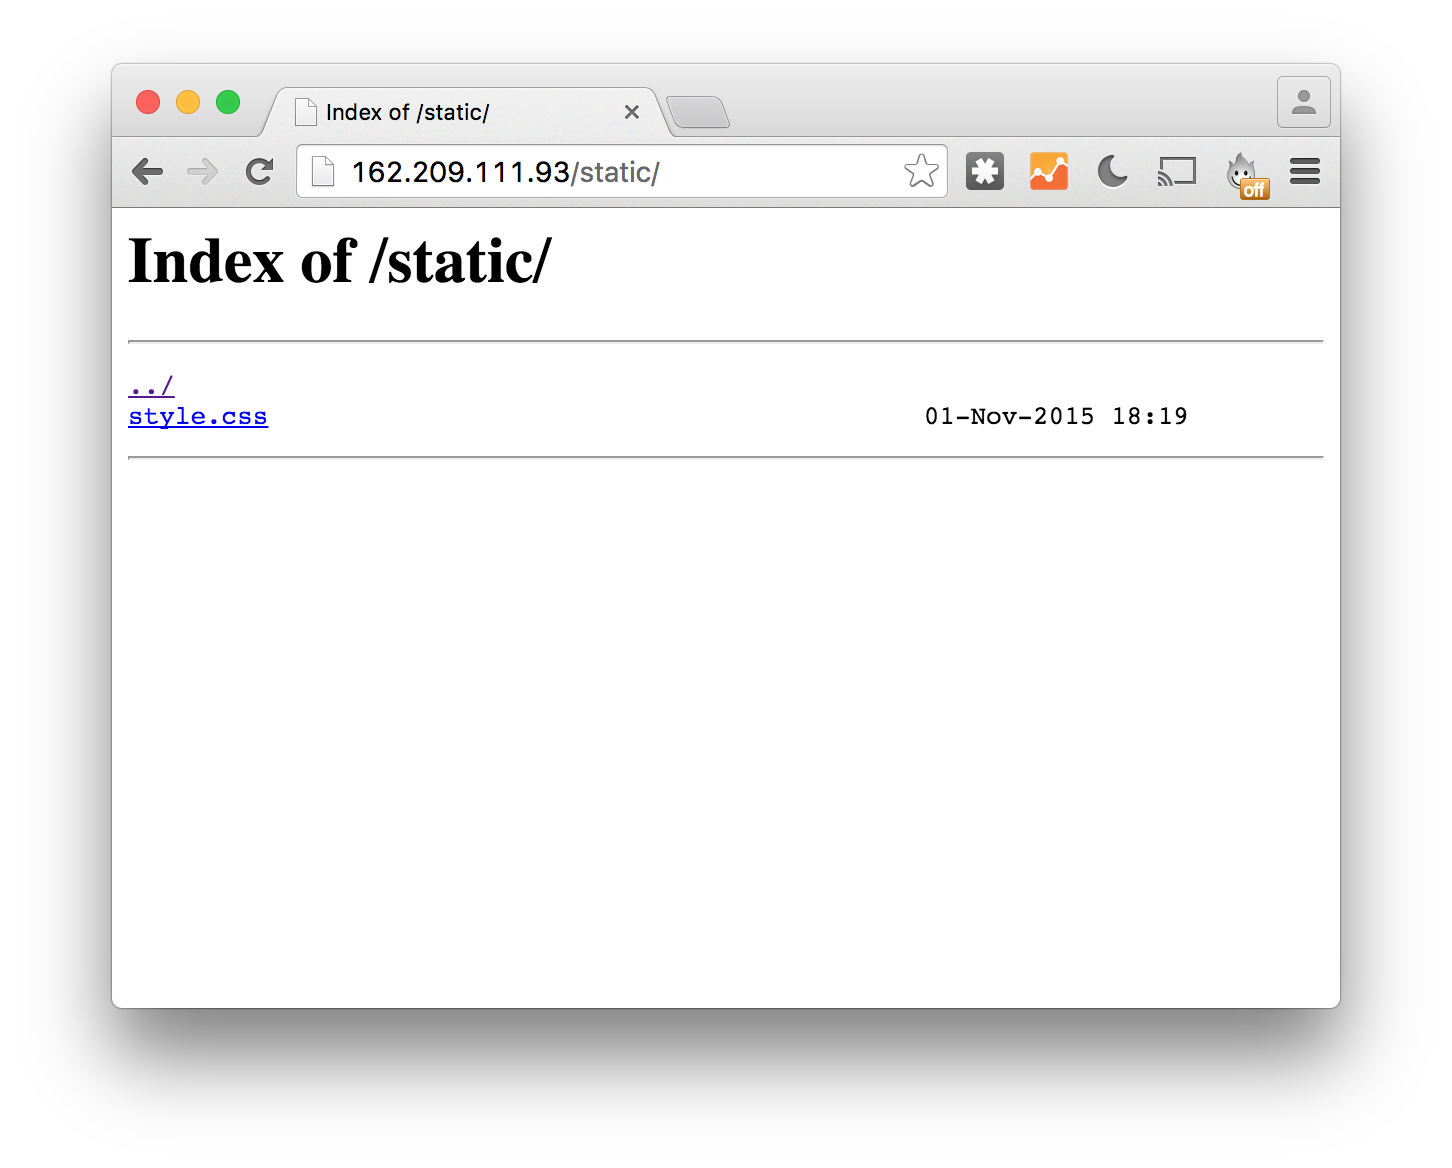
At this point we should now be able to navigate to our server in the browser and view our static file directory (the ones we let nginx serve directly). Try putting
Gunicorn
We use gunicorn to serve all of our flask views. The development server is not suited for production website for many reasons, including security and performance concerns. Here we could use any number of solutions including Tornado or mod_wsgi for Apache. I’ve chosen to use gunicorn so this is the configuration I’ll show.
Since we’ve already installed the gunicorn python package via pip, we can run the following in the root of our site’s directory to activate the gunicorn web server:
(flaskdeploy)$ gunicorn flaskdeploy:app
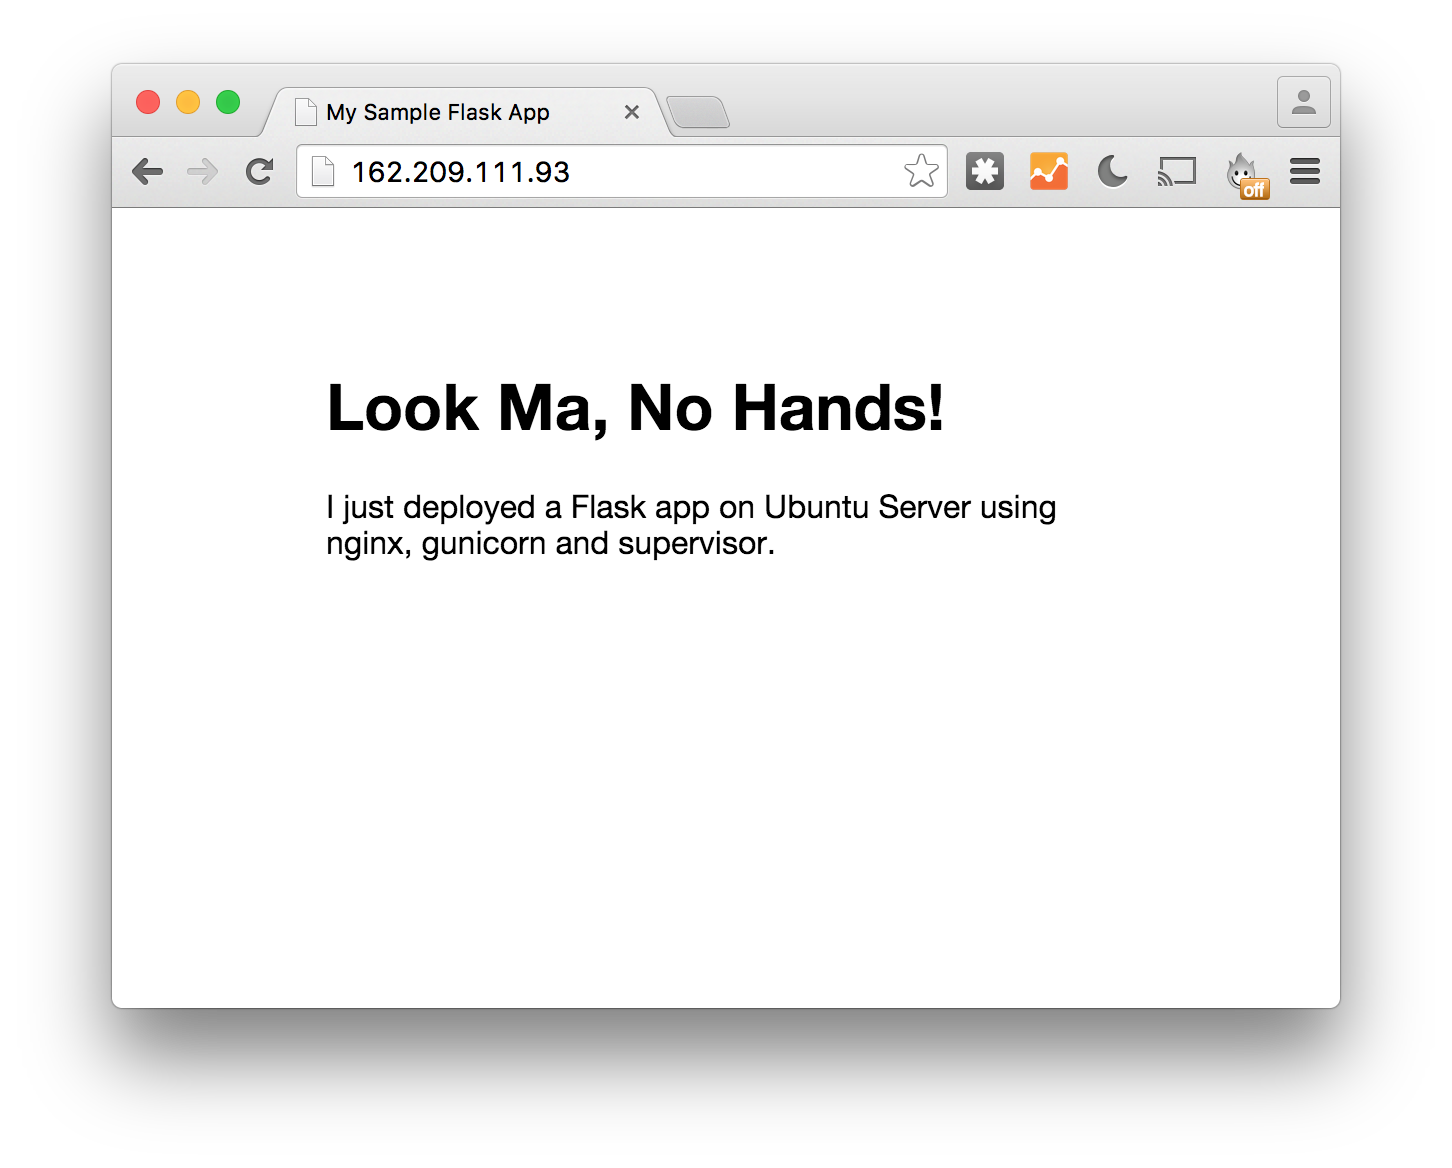
Here we’re calling gunicorn with the name of the file that contains all of our site’s code (without the .py extension) - “flaskdeploy” and “app”, the name of the Flask object. Voilá!
Supervisor
There’s only one thing left to do. You may notice that once we started our gunicorn server we’ve lost access to the command line. We would have to hault the server to run any other commands. One solution to this would be to run the server in a screen or in the background, giving control back to the user. But this still wouldn’t help us if the server ever needs to reboot. Perfereably we could find a solution the run our gunicorn server in the background and also start it automatically on reboot. Enter supervisor.
Supervisor is a software that allows users to manage multiple processes, so we could actually have multiple gunicorn sites running with different configurations. Now we’ll write a configuration file for our flaskdeploy site: (note that this file MUST end with a .conf extension)
(flaskdeploy)$ sudo nano /etc/supervisor/conf.d/flaskdeploy.conf
[program:flaskdeploy]
command = /home/deploy/.virtualenvs/flaskdeploy/bin/gunicorn flaskdeploy:app -w 4
directory = /home/deploy/sites/flaskdeploy
user = deploy
stdout_logfile = /home/deploy/sites/flaskdeploy/logs/gunicorn/gunicorn_stdout.log
stderr_logfile = /home/deploy/sites/flaskdeploy/logs/gunicorn/gunicorn_stderr.log
redirect_stderr = True
environment = PRODUCTION=1
Now we have to tell supervisor about the update and restart.
    (flaskdeploy)$ sudo supervisorctl reread
    (flaskdeploy)$ sudo supervisorctl update
    (flaskdeploy)$ sudo supervisorctl start flaskdeploy
Log Rotation
One last important (though not absolutely necessary) step is to configure our nginx logrotation script to point to our non-standard location. We can do this by editing the following file:
(flaskdeploy)$ sudo nano /etc/logrotate.d/nginx
Here we’ll see a code block starting with the location that the script will first look to find our logs. We need to edit this to add our new directory:
    /var/log/nginx/*.log /home/deploy/sites/flaskdeploy/logs/nginx/*.log {
      ...
    }